How to Setup Beamhole on MacOS
Install on Mac
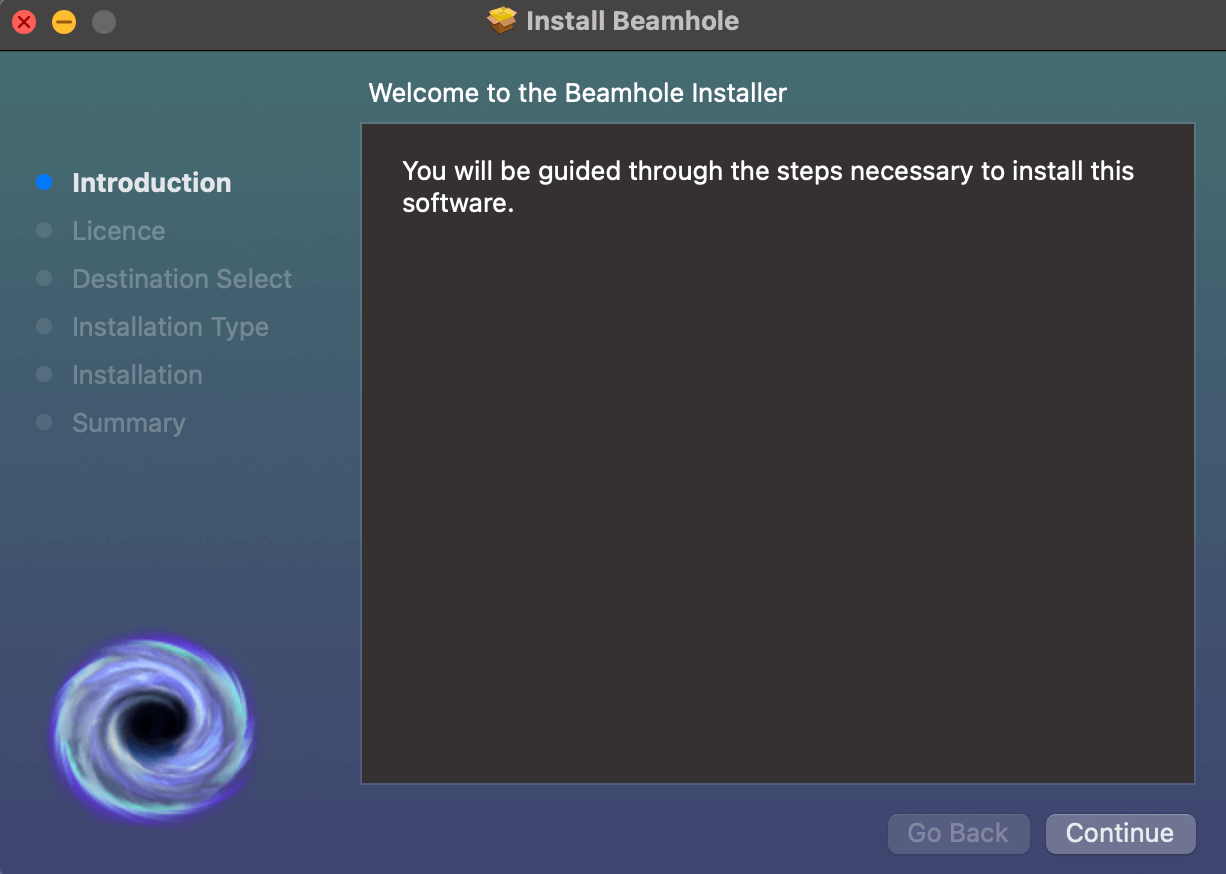
To install, download the latest MacOS release, and double click on the .pkg installer to get started.
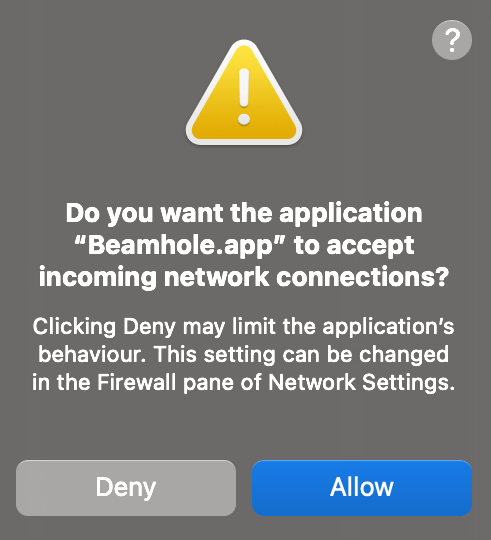
You may be asked to allow Network Connections. Click "Allow":
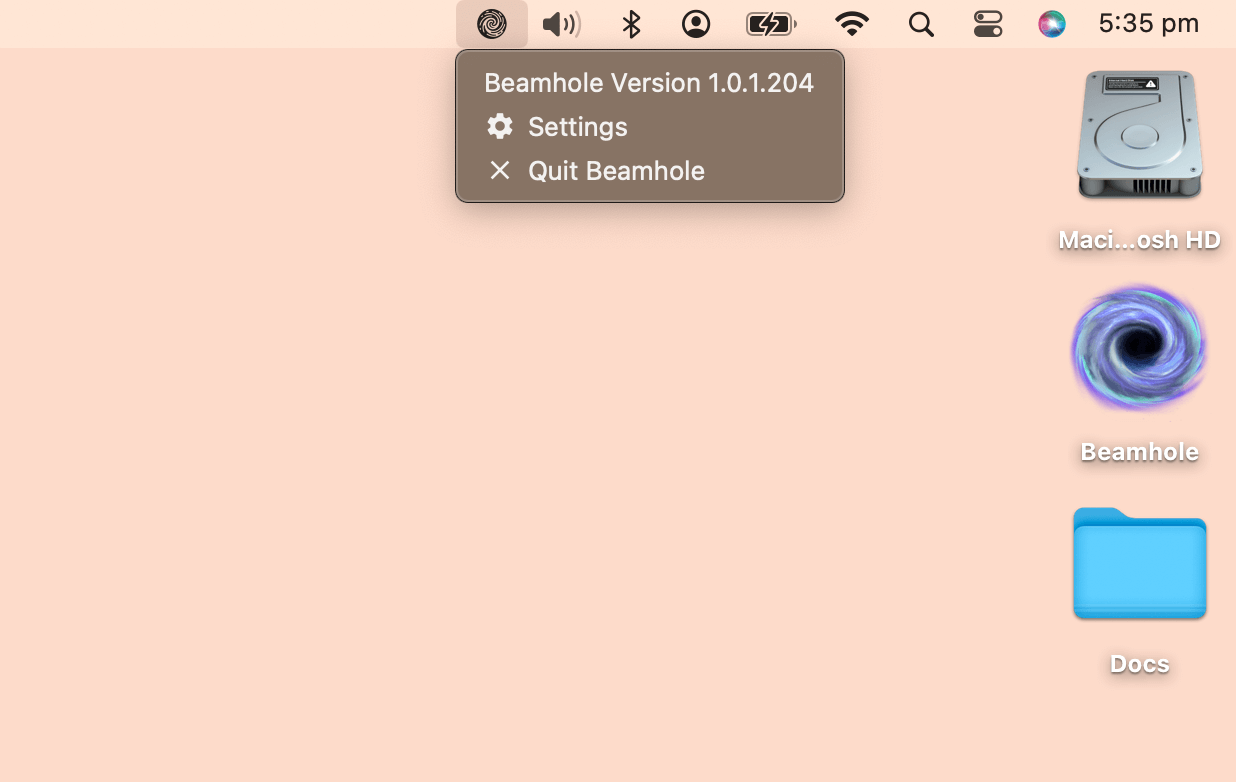
How to reveal the Beamhole user interface:
Once installed, click on the Beamhole systray icon (top right of your screen) and click Settings to reveal the Beamhole user interface.
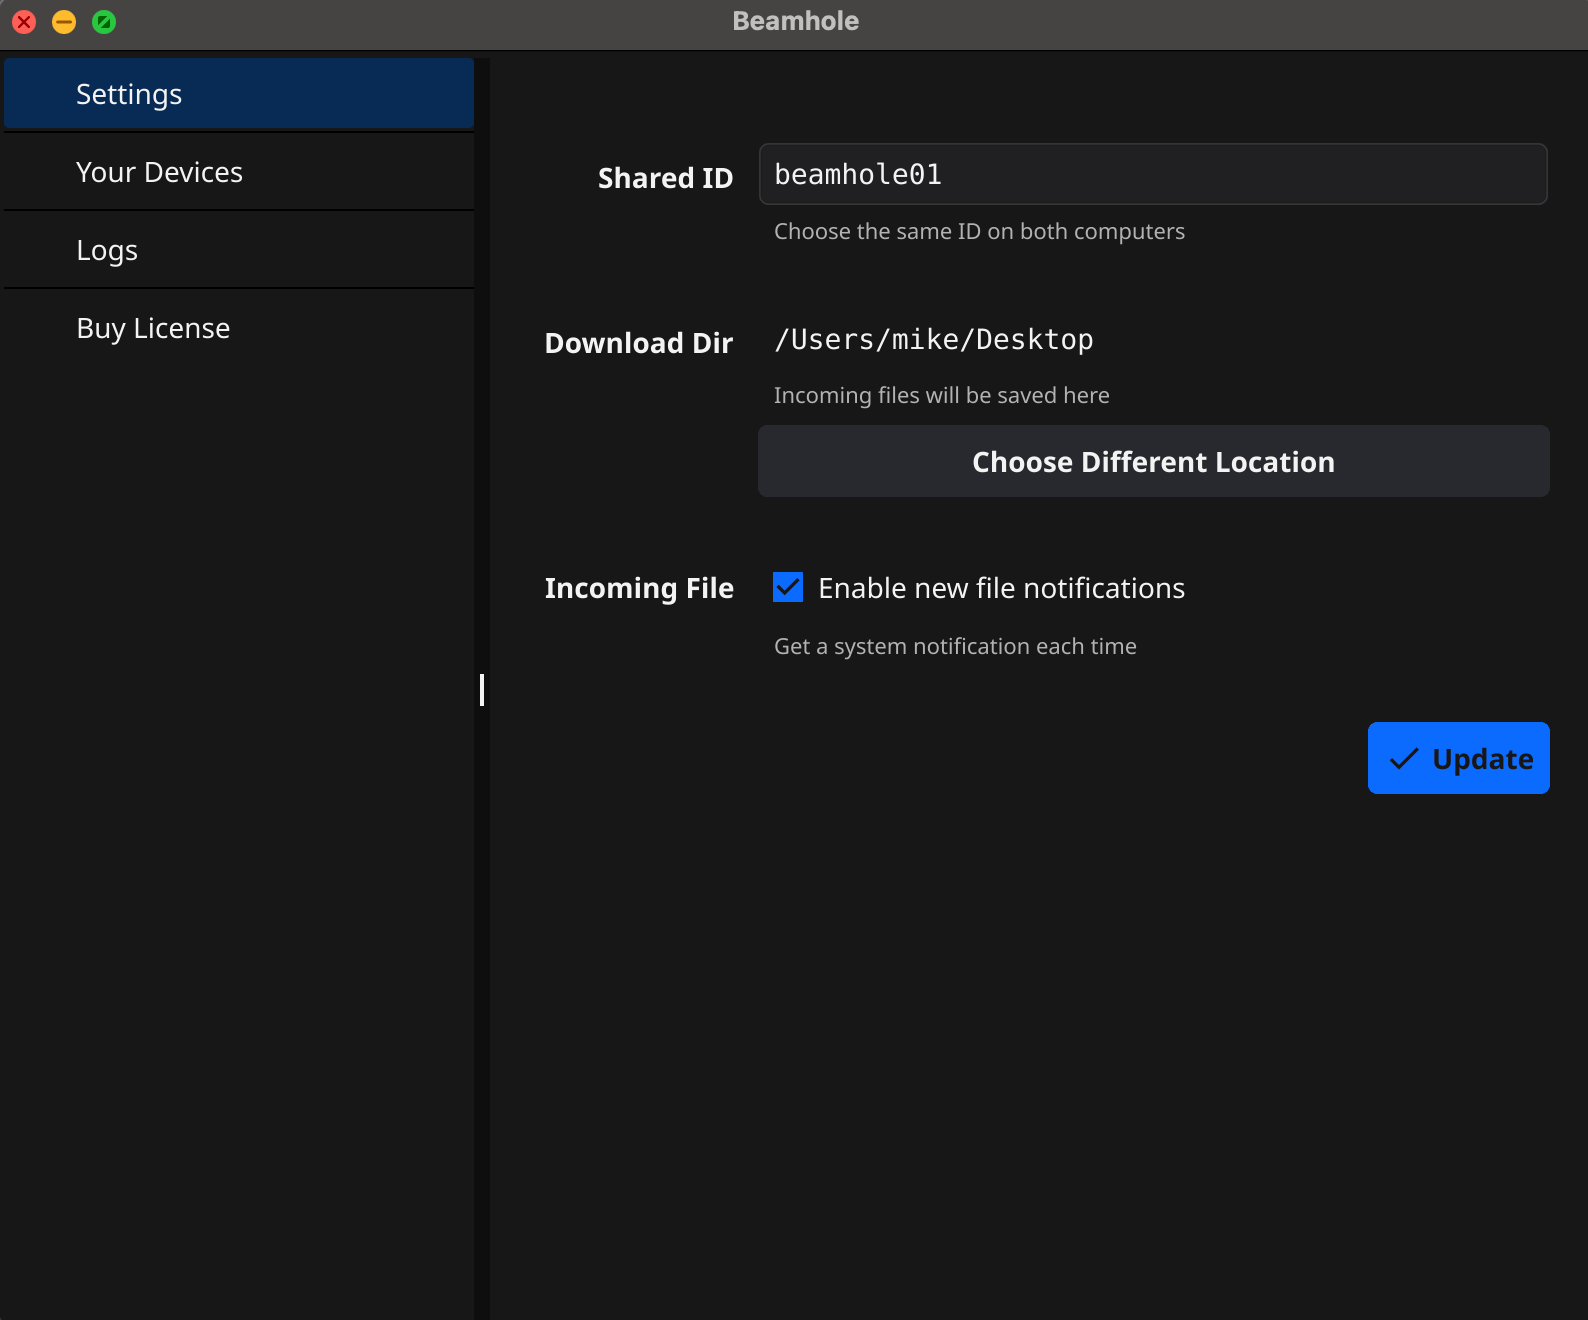
Next, customize the Shared ID to be a secret phrase that only you know. This will prevent other Beamhole users on your network accidentally receiving your files. Use the same Shared ID when setting up Beamhole on other devices.
Click Update to save.
Once you've set up your other device, it should automatically appear on the "Devices" tab. You are now ready to transfer a file.
How to transfer a file or directory:
To send a file or directory from Mac, either:
- drag a file/directory on top of the Beamhole icon on the Desktop, or
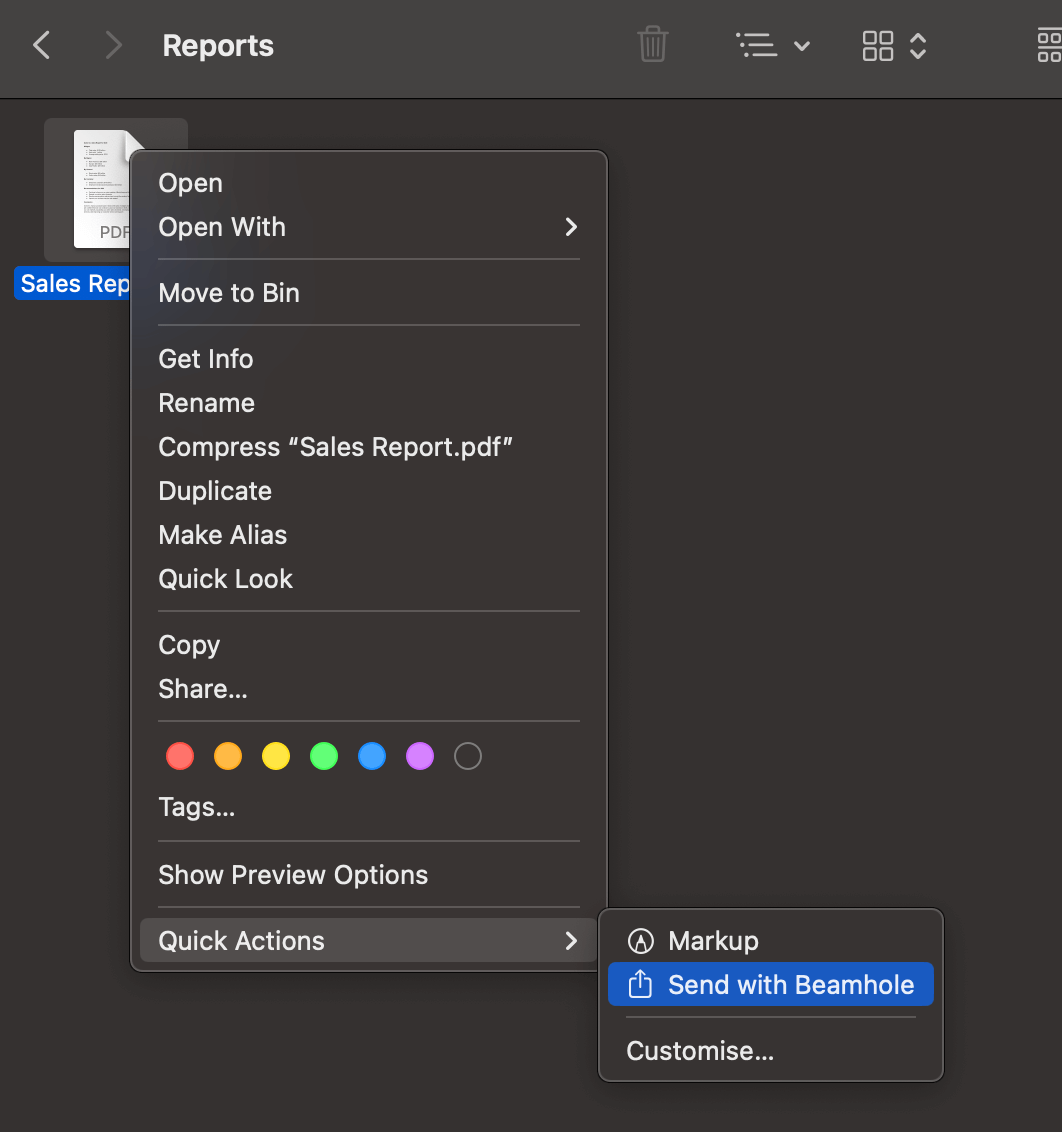
- right click on the file/directory in Finder > Quick Actions > Send with Beamhole
Troubleshooting
- Make sure you're logged in as the main user (the "Admin" user) when installing
- If Beamhole doesn't immediately open, try double clicking on the Beamhole app inside your Application's folder, then click on the Settings > Devices page and click "Refresh"
- If your other device isn't list on the "Devices" page, try clicking "Refresh" on the Settings > Devices page
- If you're still stuck, please help me fix it for you
See also: Setup Instructions for Windows

